
In the smart lock industry, installation is often referred to as the "last mile of service," highlighting its importance. While different installers may have their own habits, most follow a standard process, which can be broadly summarized as follows: pre-installation preparation, installation process and key considerations, product debugging phase, and final wrap-up.
This article, brought to you by China JJR Smart Lock Factory, outlines the general process of smart lock installation and common issues encountered during the process. The steps mainly focus on the mechanical lock body installation process.
")
Pre-Installation Preparation
① Communication and Product Testing
- After discussing and finalizing the lock model with the customer, schedule an installation time.
- Record the customer's exact location and request photos of the door (side view of the lock body, front and back views, and presence of an upper/lower latch).
- Before heading to the site, insert the battery and test the basic functions to ensure the new lock is functioning properly.
- Bring all necessary accessories and tools.
② Confirm Installation Conditions
- Upon arrival at the customer's location, use the key to check the locking and unlocking process.
- Inspect the condition of the upper and lower latches for aging and check if the door panel is deformed.
Installation Process and Key Considerations
① Lock Body and Latch Installation
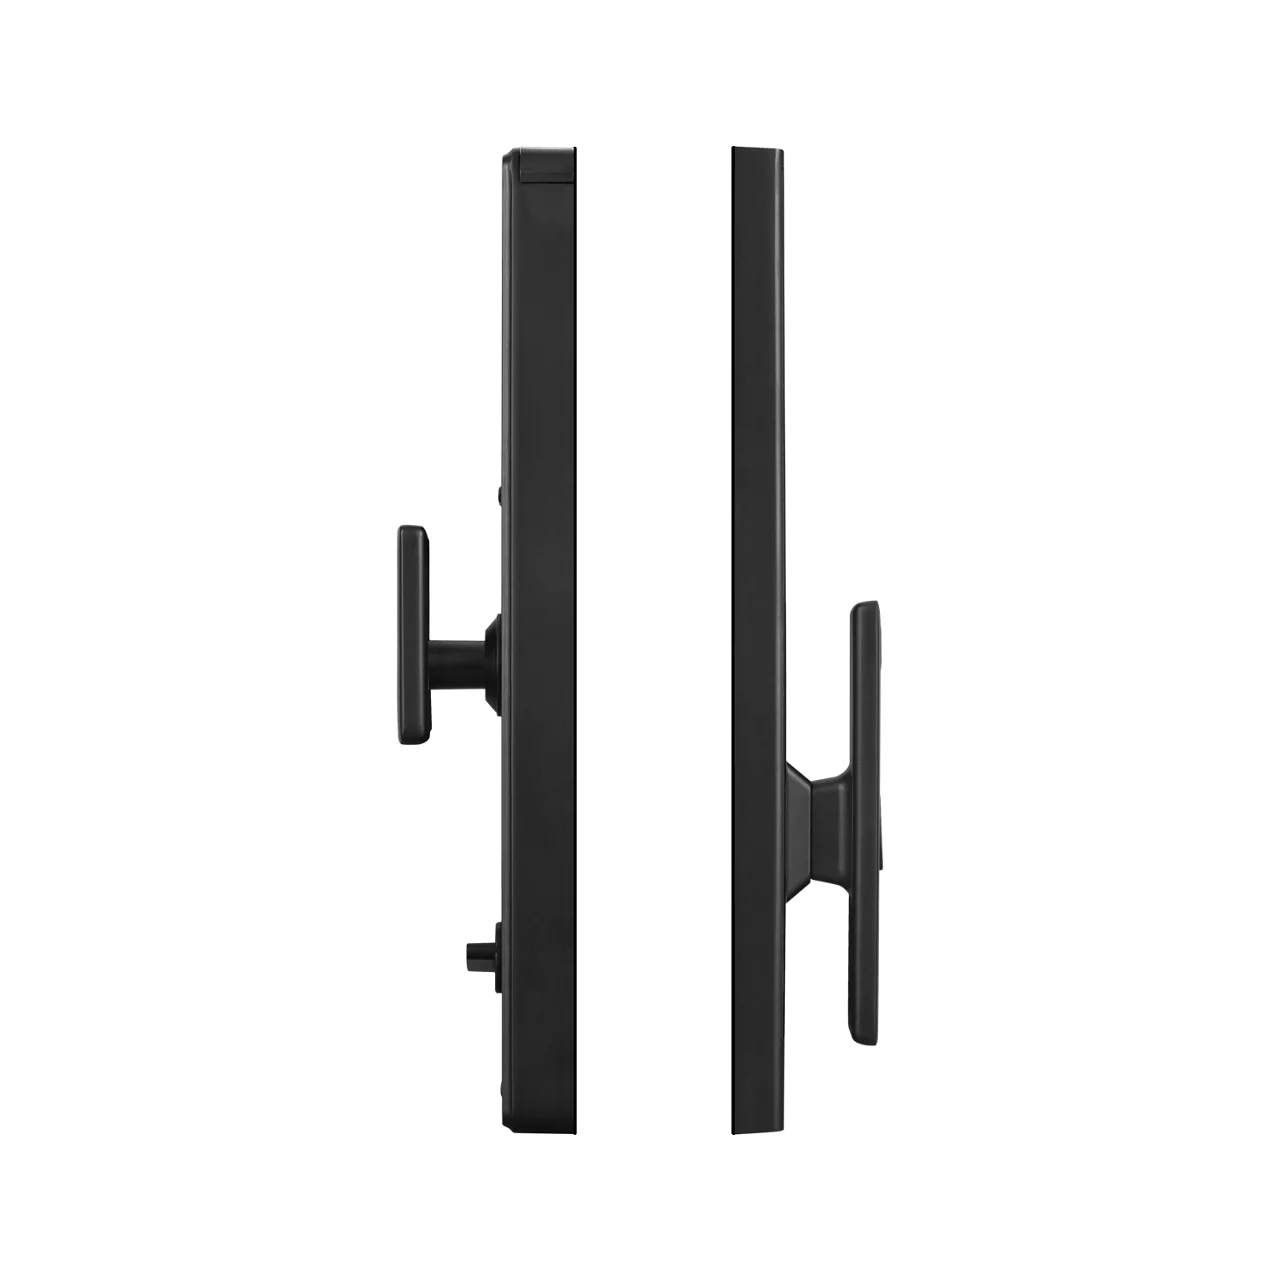
- After all preliminary checks, disassemble the panel and lock body.
- Compare the new lock with the old one to determine if the door panel requires drilling or expanding the existing holes. Complete any necessary modifications before inserting the lock body.
- Place the new smart lock body inside the door and compare it with the old one. If they do not match, use a modification template to adjust the installation. If they match, secure the lock body directly.
Special Considerations:
- In some cases, the lock body and handle direction may need to be reversed. Refer to the instructional video for different methods based on the lock body type.
- If the upper/lower latch is aged, discuss with the customer whether to remove it. If removal is not possible, use tools to secure it (if no secondary lock is present).
- If the upper/lower latch remains in place, check whether it protrudes excessively after installation. If necessary, grind down parts to ensure smooth door closure. The side latch can be removed, bent, and secured in place.
- Insert the lock cylinder and test the key function before closing the door.
- Important: Before closing the door for testing, ensure someone remains inside in case issues arise, allowing them to push the door open.
② Smart Lock Installation
- Install the guide plate first.
- If an additional guide plate is needed, align it with the door frame, mark the position, drill holes, and secure it with rivets. Hammer down any protruding rivets if necessary.
- If the guide plate obstructs movement, smooth it out with a grinding tool.
- Measure the door thickness, then compare it with the length of the square steel rod and deadbolt plate. If cutting is required, use an angle grinder, then smooth the edges.
- Insert the square steel rod into the lock cylinder, then position the fingerprint lock, adjusting the handle direction and rotation arrow accordingly.
Key Considerations During Installation:
- Ensure all wiring is inserted inside the door and not compressed by the front panel.
- Secure with a socket wrench, reinforce with pliers, and place a rubber gasket for alignment.
- Fix the front panel using a stabilizer or have another person hold it in place to prevent accidental drops or damage. Some products come with a fixed plate, making installation easier.
- Install the rear panel:
- Attach the rubber gasket to the back.
- Align the deadbolt hole and insert the spring into the square steel rod hole.
- Connect the wiring and carefully insert it into the door.
- Avoid excessive wire twisting or interference with the upper/lower latch, which could cause connection issues.
- Align the square steel rod and secure the front and rear panels with screws. Do not fully tighten the screws at first—check for panel alignment and make small adjustments before final tightening.
Product Debugging Phase
Once installation is complete, proceed with functionality testing:
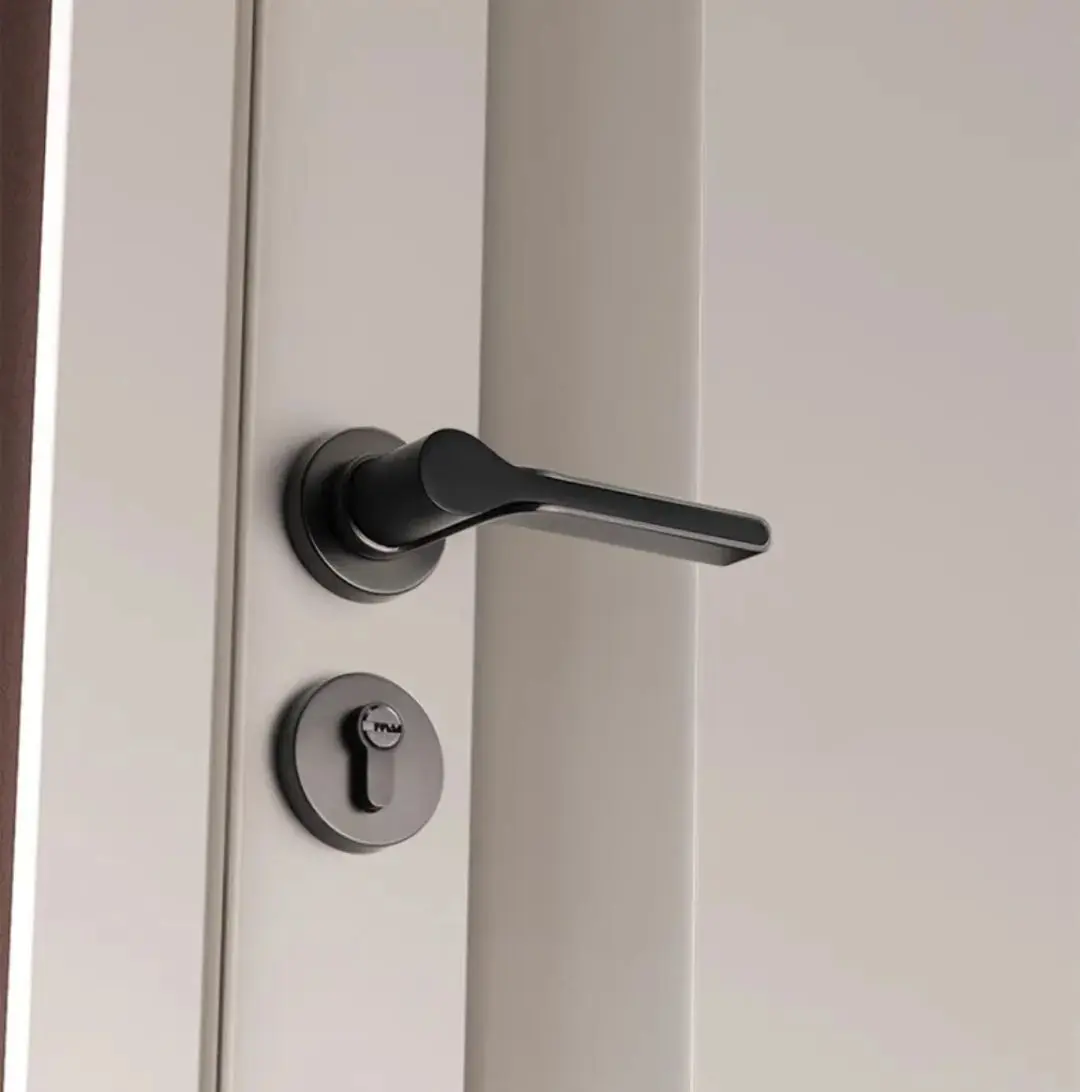
- Check handle movement: Test locking, unlocking, handle rebound, and indoor security features such as the peephole function. If the handle does not rebound properly, adjust the fixed screws.
- If all mechanical functions are normal, proceed to fingerprint and user data setup:
- Guide the customer through the fingerprint and password registration process according to the manual.
- Set the time, admin password, fingerprint records, and keycard settings.
- Teach the customer how to use the key for entry, how to add/delete users, and how to reset the lock to factory settings.
Important Reminder:
- Advise the customer not to leave their keys inside the house.
- If a keycard is lost, it should be deleted from the system immediately.
Final Wrap-Up
With the main installation completed, proceed with final touch-ups:
- Attach anti-collision rubber pads on the wall to prevent handle damage.
- If the door makes noise, apply lubricating grease to the hinges.
- Clean up the installation site and remove any debris.
Key Considerations During Installation
In addition to the general process, keep these critical points in mind:
① Square Steel Rod Adjustment
- Ensure the square steel rod is slightly shorter than the measured length.
- A thinner steel rod can be inserted more smoothly into the lock body, preventing excessive tension on the handle, which may cause unlocking issues.
For fully automatic locks, the process is similar to semi-automatic locks, except that it requires additional lock cylinder cutting. Always cut slightly longer than the required length to prevent key insertion issues.
② Front & Rear Panel Positioning
- Ensure the iron plate alignment between the front and rear panels.
- Keep the square steel rod and lock cylinder centered, or the rear panel may not secure properly.
③ Model Selection Based on Customer’s Door Type
- Recommend a suitable lock model based on whether the door opens inward or outward.
④ Wi-Fi Compatibility Issues
- Some smart locks do not support 5G networks—advise customers to modify router settings if necessary.
⑤ Handling the Upper/Lower Latch
- There are multiple methods to remove the upper/lower latch. The correct approach depends on the lock type.
⑥ Lock Body Adjustments
- Most special lock bodies have compatible replacements—avoid modifying them yourself to prevent warranty issues.
- If the lock body is positioned too far outward, the lock cylinder may protrude excessively. If positioned too far inward, some locks may not fit properly.
- Lock bodies generally have one-stage or two-stage mechanisms:
- One-stage locks are mostly for semi-automatic locks.
- Two-stage locks can support both semi-automatic and fully automatic locks.
- Some locks allow users to choose between one-stage and two-stage settings.
This guide provides a comprehensive step-by-step process for smart lock installation, ensuring a smooth and efficient setup while addressing common challenges.