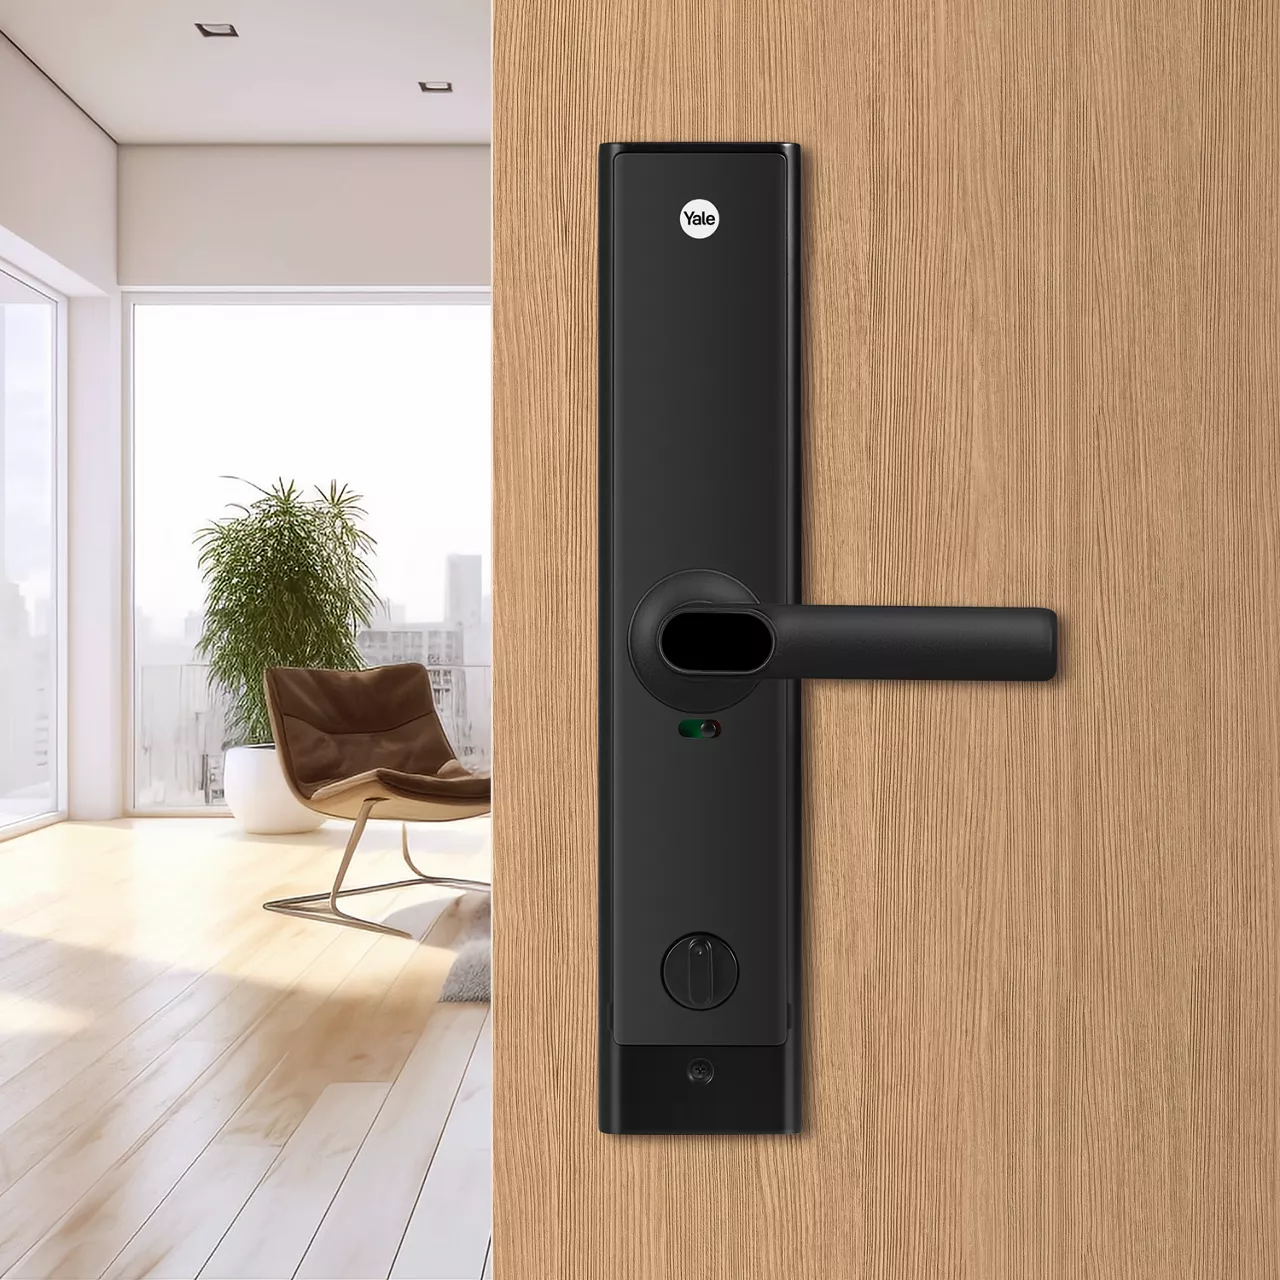

Key Points to Consider When Installing a Smart Lock
1. Pay Attention to the Lock Body's Opening Direction
The lock body can be installed in different ways: inward opening, outward opening, left opening, or right opening.
This can be adjusted on the lock body itself.
Specific adjustment instructions can be found on the lock body.
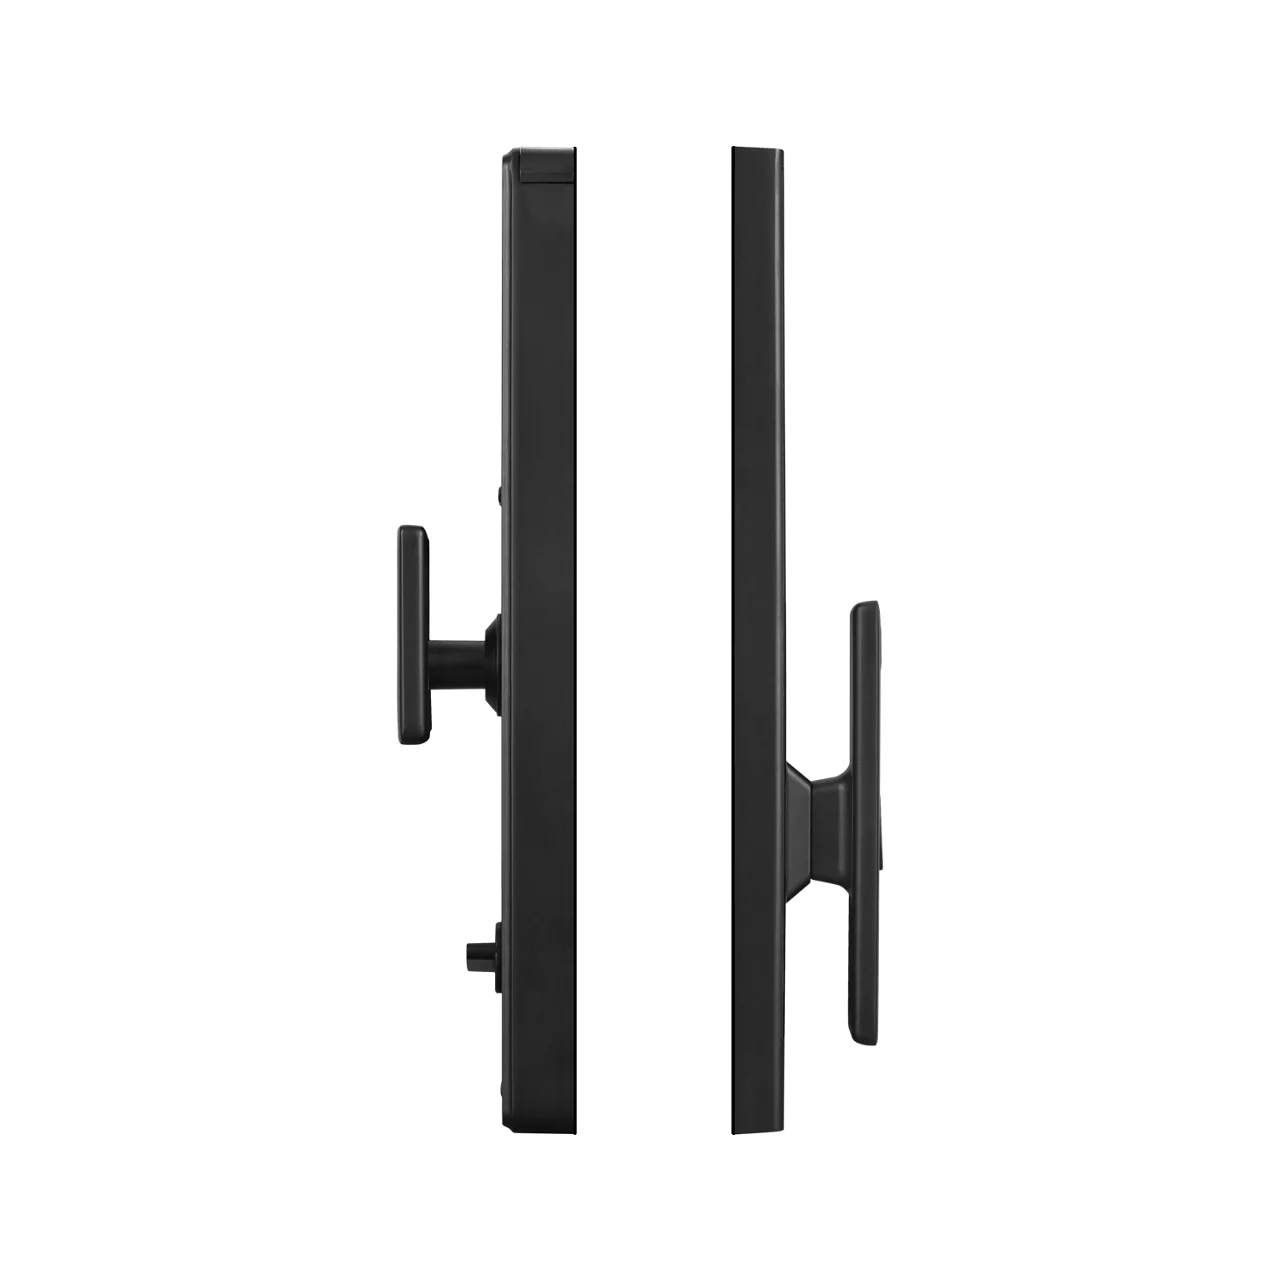
There are two adjustment locking knobs on the lock body.
")
2. Secure the Fixing Screws
During installation, the accessory package includes four screw fixing posts and two long fixing screws.
- The four screw fixing posts include two thick posts.
- The bottom of the lock and the thin fixing posts are used to secure the lock body.
- No additional screws are required.
If the lock body is frequently knocked during use, it may become loose.
If set screws are not used, the lock may loosen, affecting your experience.
3. Adjust the Handle Properly
- To adjust the door lock handle, simply remove the wrench from the reset module.
- There is no need to turn the square steel screw.
- If the handle is replaced by tightening screws, an issue may arise where the latch extends when lifting the handle from the front panel, but unlocking fails even after confirming the fingerprint or password.
Save This Guide – Follow These Steps to Install a Fingerprint Lock!
Smart fingerprint locks are widely recognized as replacing mechanical locks.
However, for some, smart fingerprint locks are still unfamiliar, and installation is more complex than that of mechanical locks.
Today, JJR will guide you on how to install a smart fingerprint lock at home.
Just follow these steps to complete the installation.
JJR Fingerprint Lock Installation Steps
1. Before Selecting and Installing the Lock:
- Observe the door's opening direction.
- Measure the door and guide plate thickness.
2. Remove the Old Lock
- Take out the old lock from the door.
- Adjust the lock body's opening position according to the provided hole pattern.
3. Adjust the Latch
- Press the latch upward onto the lock body.
- Push the latch into the lock, rotate it 180 degrees, and let it pop out.
- Once adjusted, release the latch and pull it back.
4. Change the Lock Body Direction
- Use the included hex wrench to loosen the direction screw.
- Insert the direction screw on the other side of the lock body.
5. Insert the Lock Body into the Door Frame Hole
- Ensure the cable is pulled into the door's inner hole.
- Press diagonally on the lock body and tighten the four fixing screws.
6. Adjust the Handle
- Use a screwdriver to loosen the two direction screws inside and outside the handle.
- Rotate the handle 180 degrees, reset it, and tighten the direction screws.
- Flatten the rubber pad, then release the compression spring and square steel.
7. Fix the Lock Plate
- Use a hex wrench to tighten the outer lock plate screws.
- Tighten the upper and lower screw sleeves on the lock plate.
- Compare the label length.
- Trim the anti-lock piece and mechanical key handle length according to the door thickness.
8. Attach the Outer Lock Plate
- Insert the outer lock plate and square steel plate into the lock body's rotating hole.
- Press the outer lock plate against the door.
- Use screws to secure the fixing plate and outer lock plate.
The steps above provide a detailed guide on how to install a fingerprint lock.
Save this guide and follow these steps to complete your fingerprint lock installation successfully!